
[University of Tennessee Institute of Agriculture]
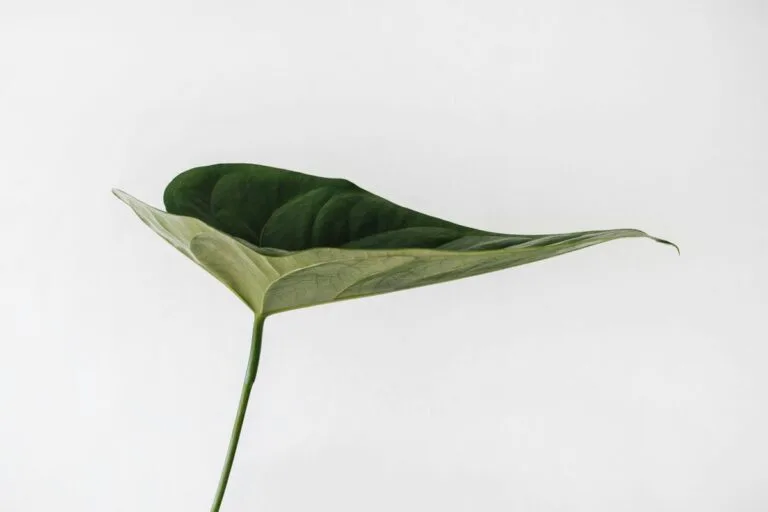
I was excited to learn about the Tea Bush, called Camellia Sinensis. All tea that we drink–black, green, oolong, etc.–is made from this bush. By growing it in your yard, you can make your own tea.
The Tea Bush is originally from Asia and closely related to the Camellia, as you can probably tell by the name. And like the Camellia, it is a pretty bush with fragrant white flowers and waxy green leaves. It takes well to pruning, can be grown as a hedge, and can get 10-15 feet tall. Best of all, this plant works in light shade, so it is a good way to add an edible plant to a shady spot.
I haven’t grown a Tea Bush yet, but I plan to put at least one in the backyard. According to the Sunset Western Garden Book, the plant can be grown in Zones 4-9, 12, 14-24. I would assume that if you can grow a Camellia, you can grow a Tea Bush.
You can purchase a tea seedling from One Green World for $20. They say the plant is 8-10 feet high and is cold hardy to 0°F.
Let’s grow our own tea.
Grow Your Own Tea Bush
Related Posts

I had no idea… I would love to grow my own tea! I’d also love to add such a functional plant to my landscaping. Thanks for the post!
A very interesting concept. I assume that we would just have green tea? Isn’t there some processing that would go on after – I think there is some sort of fermentation and drying? I would be really interested to learn how to take it from bush to cup! Thanks for the inspiration!
Super excited about this post. Curious as well what to do after it is grown…???
Also, perhaps I should know what the zones mean, but in NZ in that zone?
I found this…
Turning leaves into tea: 5 easy steps
1) Withering. We spread the leaves out on a baking sheet for the rest of the day to let them wilt. We wanted them to be sad and wilty looking, like salad that’s been left out too long. For us, that took from about ten in the morning until six that night.
2) Rolling. Then we rolled the wilted leaves firmly, one at a time, between fingers and thumbs, hard enough to feel the juices in the leaves being released. Then we spread out the needle-shaped rolled leaves on the baking sheet.
3) Fermenting. This just means letting the leaves oxidize until all the green color is gone and they’re completely brown. We let our first batch sit for 3 full days in the wine cellar, and by the end of that time, there were still patches of green amid the brown. At that point, since it was a Friday, we moved on to the next step. With our second batch of leaves (which we picked a couple weeks later), we gave them 5 days. Even so, we still saw a few hints of green.
4) Drying. Although the tea looked plenty dry to us, we decided to follow Camellia Forest’s instructions to dry the tea, still on its baking sheet, in a 250° oven for 20 to 25 minutes. We let it cool thoroughly (for a few hours) and transferred the leaves carefully into our metal tin.
5) Brewing. The finished product, once we poured briskly boiling water into a teapot with our precious tablespoonful of tea leaves and let it steep for 5 minutes, was more delicate than we had hoped, though it definitely had a tealike scent and a tannic afterbite. For our next harvest, we’ll try picking the leaves in the afternoon—maybe that extra tannin will help add some body—and we’ll let them oxidize for however long it takes for the leaves to turn entirely brown. And Team Cow will provide the milk.
Amy Wall, thanks for the information. I didn’t know any of that. Very interesting.
As for zones, I’m referring to the U.S. gardening zones, where the country is broken into different areas so gardeners can compare climates and growing conditions. Here’s more info: http://www.garden.org/zipzone/.
Have three sinensis plants. No tea yet but am hopeful for this season.